/nl/blogs/news/design-your-lashes-your-perfect-look-in-minutesDesign Your Lashes Pre-glued – Your Perfect Look in Minutes /nl/blogs/news/new-launch-expanding-our-design-your-lashes-collectionNew Launch: Expanding Our Design Your Lashes Collection! /nl/blogs/news/queen-tarzis-commitment-to-pfas-free-beautyQueen Tarzi's Commitment to PFAS-Free Beauty
Design Your Lashes Pre-glued – Your Perfect Look in Minutes

Design Your Lashes Pre-glued – Your Perfect Look in Minutes

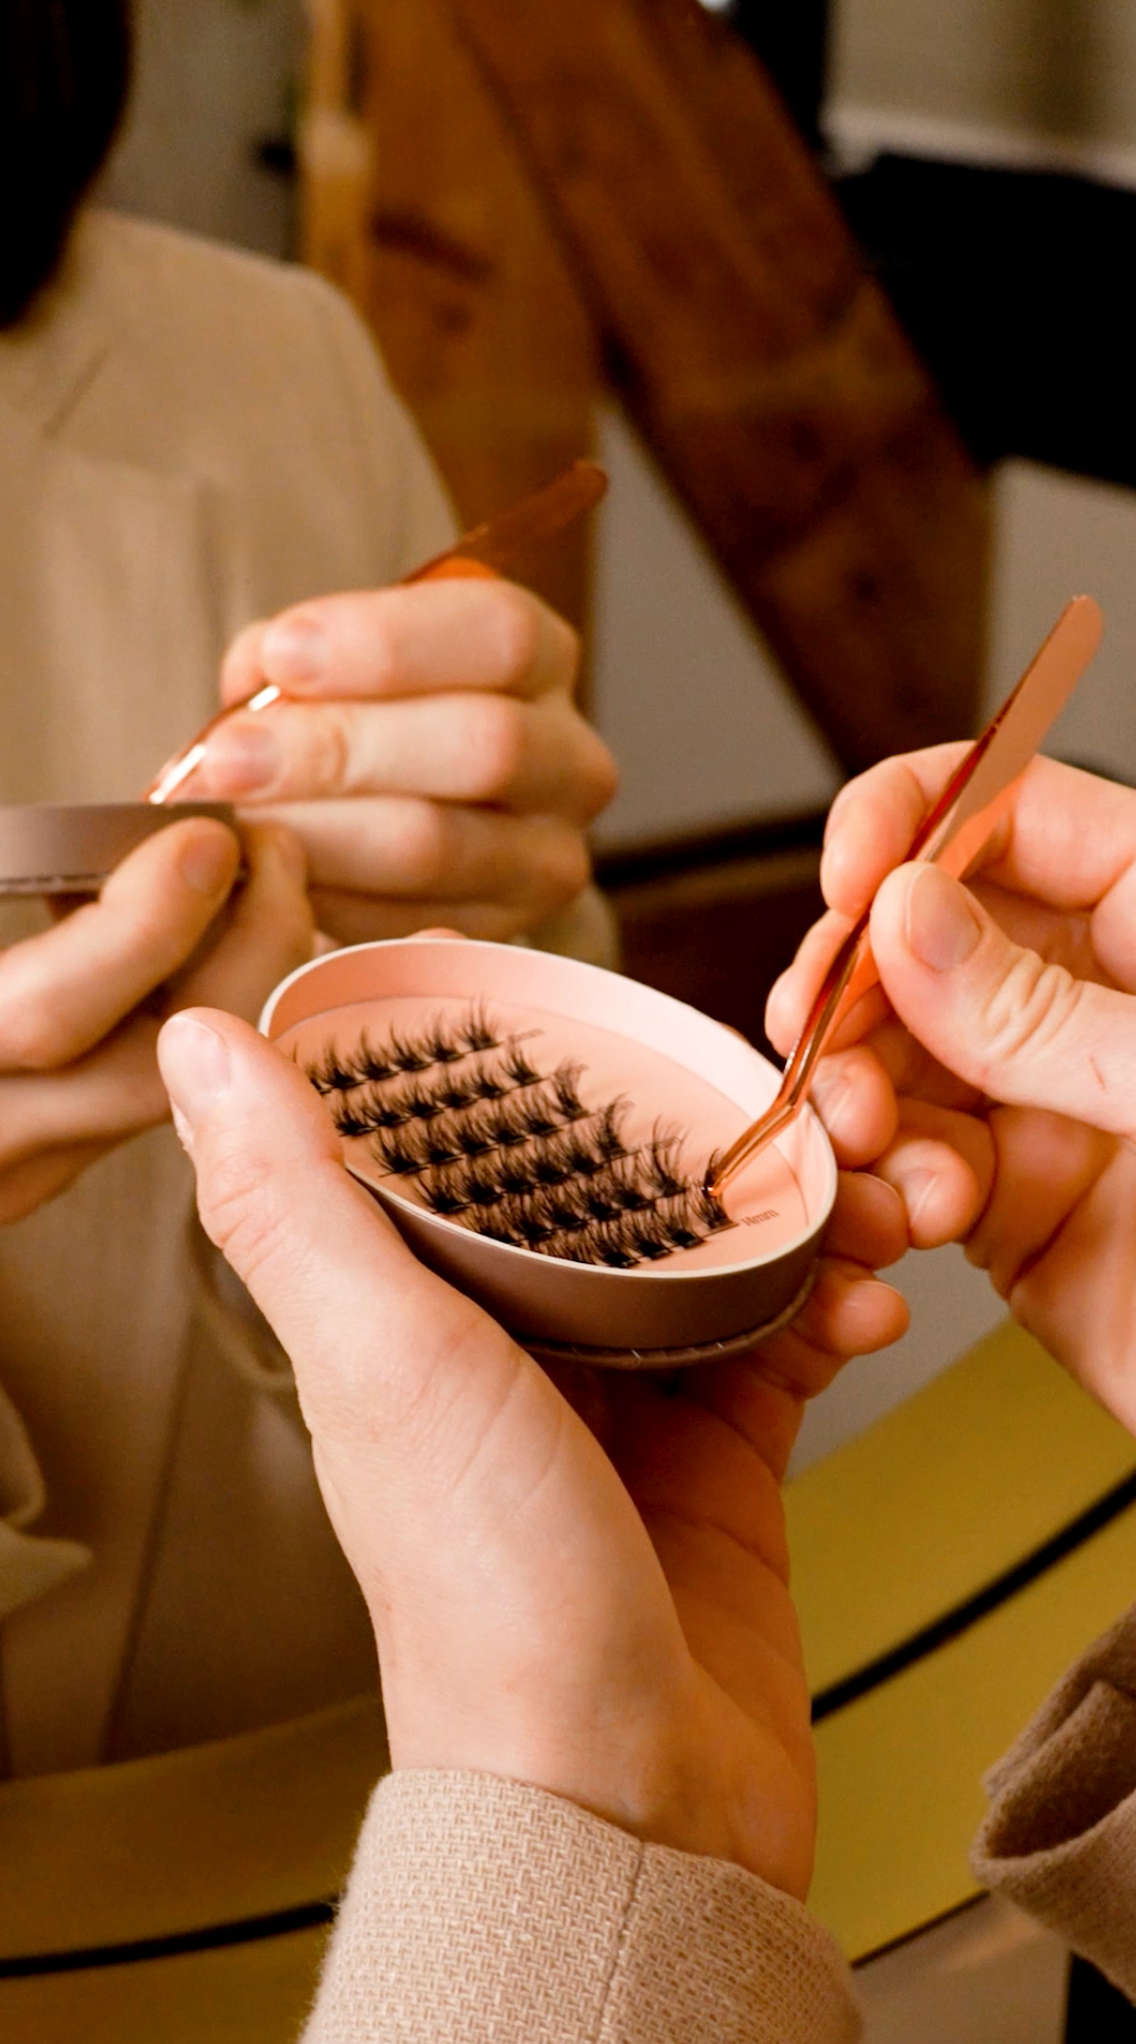
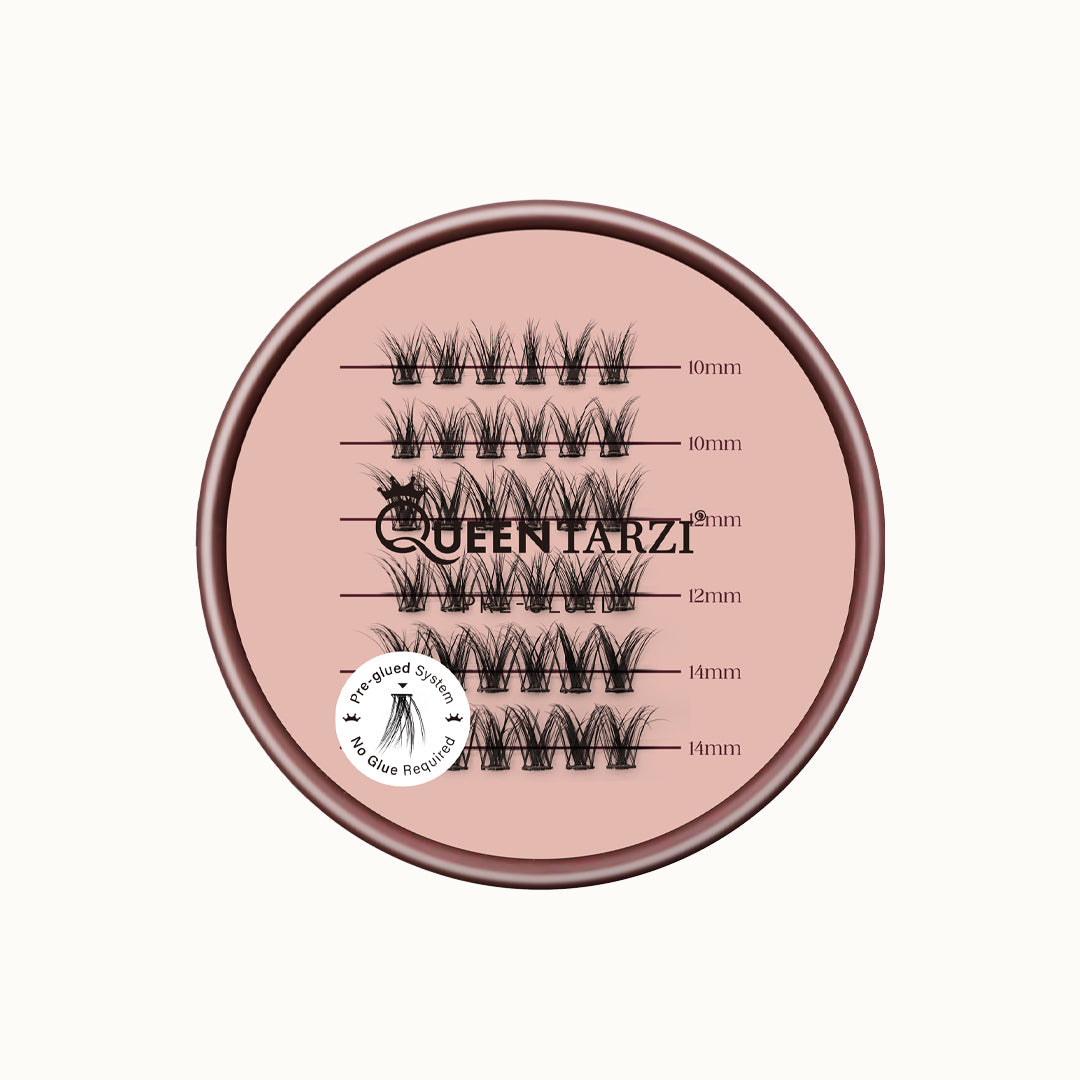
With Design Your Lashes pre-glued lashes, you can effortlessly create the perfect lash look—no glue needed! On this page, you'll find everything you need: step-by-step videos, clear instructions, and a visual guide. Whether you’re going for a natural or dramatic look, this tutorial will help you apply your lashes flawlessly in no time!

  • STEP 1 - START

    Start with clean, dry lashes. Use the lash applicator to pick up a cluster of your desired length.

  • STEP 2 - APPLY LASH

    Gently lift your eyelid with your finger and place the cluster underneath your lash line, about 1 to 2 mm from the root.

  • STEP 3 - NO GLUE NEEDED

    After applying, press your natural lashes and the clusters together for a secure hold. You’ll typically need around 5 clusters per eye.

Three Ways to Wear Your Design Your Lashes

Not sure how to wear your Design Your Lashes? Esra got you covered! Watch as she shows you three different ways to wear them. Which one will you try first?